It’s been another blogging break, but with the change to warmer weather (finally!), I can get to some projects that are more easily done either outside or in the garage. And I do have a lot of fun stuff in the works – for us and for others. Lots of blog posts! Oh, and be sure to get any updates right in your inbox by signing up to follow my blog on the right side of the page. That means you too, mom and dad. 🙂
The year that Ryan and I married (about 3 years ago) and I moved in to the house that he had owned for a few years already, I decided to start repainting and decorating the four bedrooms in the house. I can’t even say “redecorating,” because decorating to Ryan included…hmmm…I got nothin’. 🙂 So, the first room I started with was one of the guest bedrooms. With this blank palette I wanted to try a painting technique where you paint horizontal stripes on the wall in the same color using two different finishes. I painted one wall a chocolate brown, with the stripes in gloss and eggshell. The other three walls were tan.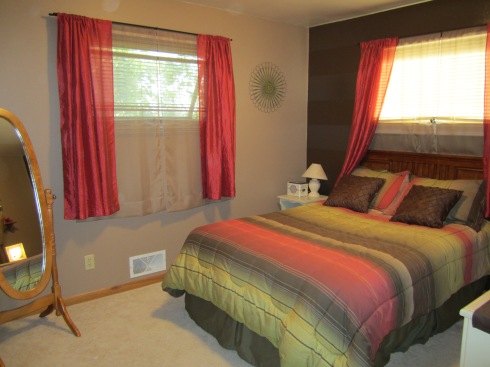
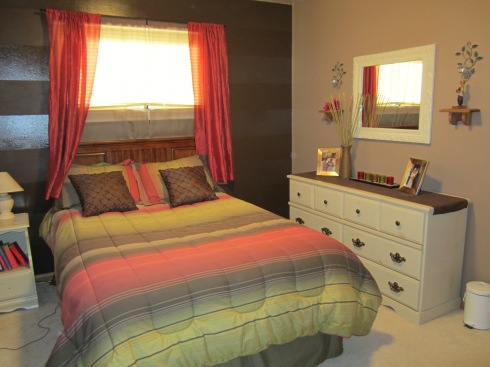
We could pretty much call this a recreation of my apartment bedroom – same curtains, bedding, furniture, etc. Anyway, my tastes changed and last spring, I was ready to do something new. This just seemed so dark! I was tired of the bedding, too, and I eventually refinished that dresser and side table and moved them to another bedroom.
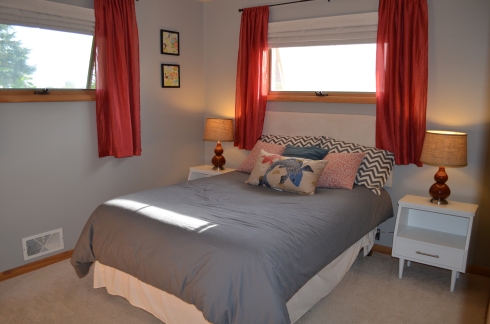
Luckily, I love to paint walls to I can easily and cheaply update the look of a room with a quick coat of paint. I decided on a light gray to brighten everything up a bit. Now, I don’t have any “during” photos as this was pre-blog, so here are a few after photos with a rundown of some cheap changes I made to give this room new life.


- The paint color is Urban Sunrise by Valspar.
- I turned the horizontal blinds into roman shades. I am kicking myself because I didn’t document it (pre-blog), but there are quite a few online tutorials to do so. I even put blackout fabric on the back. I don’t know if I’d do it again, but it was fun to try once!

- My mom made the curtains for my last apartment as a housewarming present, so I wanted to keep those (tossing the tan sheers). I raised the curtain rods to make the room seem a bit taller, and I also hang my curtains pretty wide to make the windows look wider. I like floor-length curtains in our bedrooms, so I have toyed with the idea of cutting them into wide horizontal strips (like, 10 or 12 inches each) and inserting another color to make thick striped floor-length curtains.
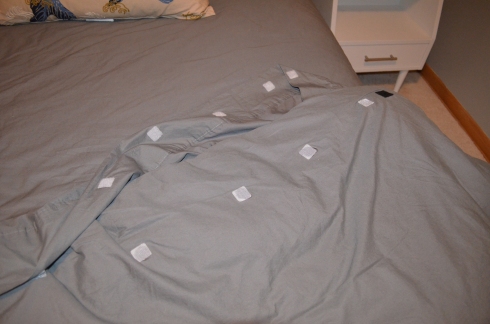
- I made a gray duvet for my current comforter from two flat sheets sewn together. The bottom underside is closed with Velcro so I can take it off and wash it.
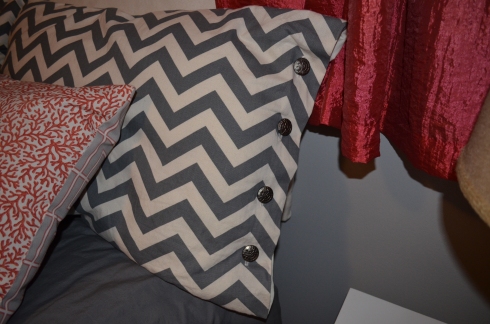
- I sewed new pillow shams that close with buttons.
- The small tan dresser is from another bedroom – the bedroom which now has the old furniture from this room. I will have a post as to how I’ve updated it (and will continue to update it).
- I purchased the nightstands second hand and refinished them. I will have a post on those too!
- The headboard is simply a frame that I created by stapling furring strips together on both sides (it makes it surprisingly sturdy) and covered with batting and fabric. It’s just been hung on the wall because it’s very lightweight. This is an incredibly easy and cheap way to make a quick headboard.


- I added miscellaneous DIY art. One is just some framed fabric that I liked. Not sure if I’m totally sold on it, but it does the job for now. The other uses a vintage window. I stenciled “Be Present Every Day” on burlap squares and taped them to the backside of the window.


- Throw pillows! I love throw pillows. The coral ones I recovered myself, and I bought the blue and the fish ones.
- New lamps.
- Let’s not underestimate the power of a jute-covered vase. It’s your “Where’s Waldo” for today, Rixen it Up-style.
Whew. It seems like kind of a lot, but I did these things over a period of a couple months so it really wasn’t hard on my free time or my pocketbook. Next post will be a quick rundown on how I updated those nightstands. As always, thanks for reading, and be sure to become a blog follower! I’ll leave you with one last before and after…